Using light to direct attention is our topic today—this unforgettable phrase from a Luminar Coffee Break episode forms the backbone of an incredibly useful image editing skill: controlling light in your photos to guide the viewer’s eye. In the fast-paced world of digital photography, where first impressions are everything, how you direct light can truly make or break an image.
Let’s walk through a straightforward, beginner-friendly guide on how to master light control in Luminar Neo to enhance storytelling, depth, and focus—all without needing studio lights or elaborate setups.
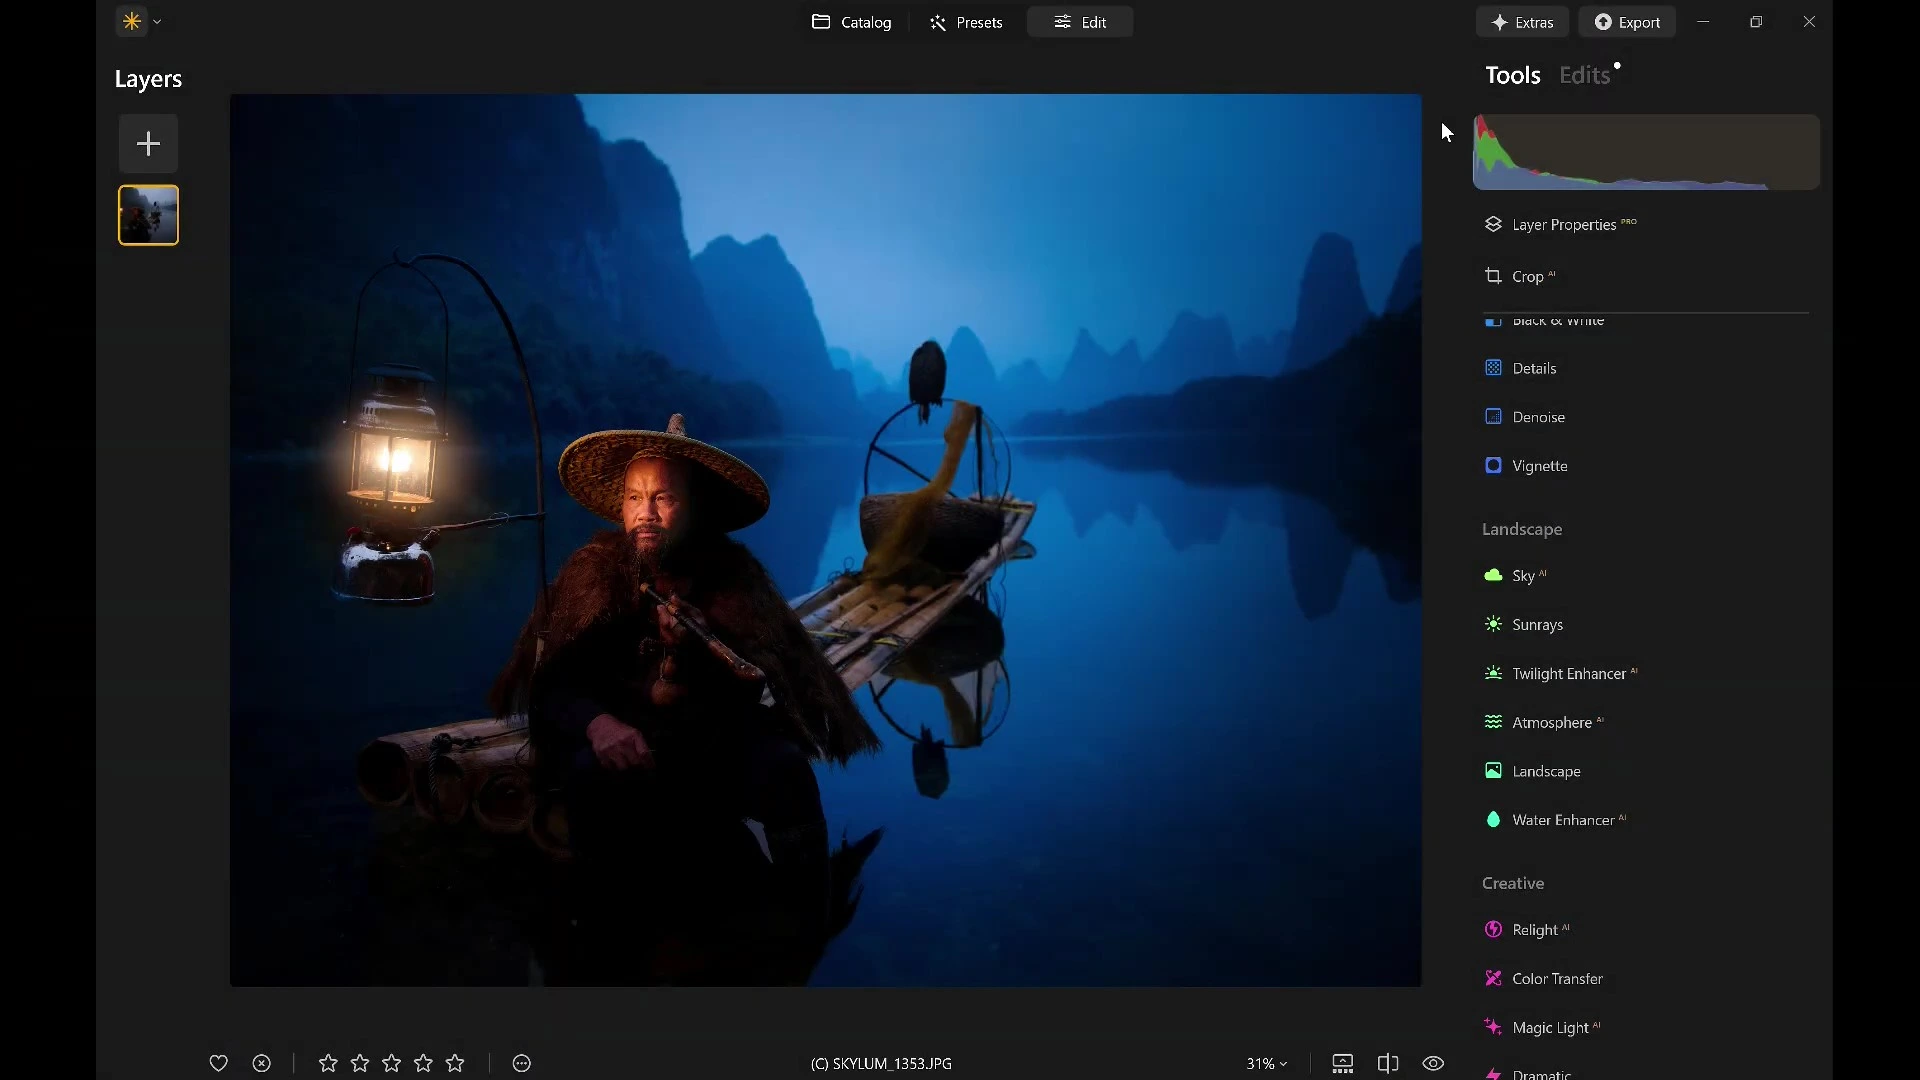
Introduction to Light Control in Luminar Neo
Light is not just a physical phenomenon—it’s a powerful storytelling tool in photography. Luminar Neo offers a collection of tools that allow photographers to manipulate lighting creatively and effectively. From Face AI to Magic Light, this software empowers users to achieve studio-like results with a few clicks.
The Importance of Guiding Viewer Attention
In visual storytelling, your subject should always be the star. But what happens when distractions in the frame compete for attention? That’s where light control comes in. You can subtly (or dramatically) shift the viewer’s gaze by selectively brightening or darkening areas in your photo.
And the best part? You don’t need to be a lighting expert to do it. Luminar Neo’s intuitive interface makes it a breeze.
Step-by-Step: How to Control Light in Luminar Neo
Start With the Original Image
Before making any adjustments, it’s good practice to revert to the original image. This clean slate lets you build your lighting effects from scratch.
Relight the Face with Face AI
One of Luminar Neo’s most impressive features is Face AI. This tool detects and enhances facial features automatically. In our sample video, the speaker used Face AI to simulate a lighting setup that would have otherwise required a person with a spotlight in the water. Pretty wild, right?

- Open the portrait in Luminar Neo
- Navigate to the Portrait tab
- Activate Face AI
- Adjust Face Light to brighten the subject’s face naturally
Add Atmosphere with Magic Light
Next up is the Magic Light tool under Creative Tools. While it’s typically used for holiday lights or glowing objects, it can also be leveraged to create ambient lighting effects.
- Navigate to Creative > Magic Light
- Use the sliders to control the glow and beam length
- Pro Tip: Turn off beams if you just want the glow for a more subtle look
This gives the illusion that light is emanating from an off-camera source—enhancing mood and realism.

Guide the Eye with the Vignette Tool
Now that the face is properly lit, the goal is to make it the focal point. The Vignette tool is perfect for this.
- Open the Vignette tool
- Click “Choose Subject” and select the subject’s face
- Increase the vignette strength
- Enable Inner Light to subtly brighten the center
This classic trick frames your subject beautifully, especially when the edges of your photo are busy or dark.

Create a Blue Hour Look with Toning
Ever wish you had shot during golden or blue hour? The Toning tool lets you simulate that warm or cool color palette.
- Open the Toning tool under Creative
- Adjust Highlights and Shadows to match your desired mood
Want to keep this dreamy atmosphere but exclude the subject from the color shift?
Use Mask AI to Keep Light Off the Subject
Mask AI is another game-changer. It allows you to selectively apply effects with pixel-level precision.
- Apply the toning effect
- Open the Masking tab
- Click Mask AI > Detect Human
- Click Invert
- Use Brush to refine any overlap and clean up edges
Voilà! Your subject remains perfectly natural while the background takes on that cinematic color grade.

Before & After: The Big Reveal
With all these tools combined, you now have:
- Enhanced facial lighting
- Ambient background glow
- A focused vignette
- A cinematic color grade
Toggle between the Before/After view to see how each step contributes to a compelling visual narrative. You’ll be amazed at how simple tweaks can guide the eye and elevate storytelling.

Using Light to Direct Attention
This is the heart of the tutorial. Light isn’t just brightness—it’s direction, emotion, and structure. By creatively adjusting it, you can lead the viewer through your story, highlight what matters, and downplay distractions.
Frequently Asked Questions
Currently, Face AI and Mask AI are best used on individual images, but basic light and toning settings can be batch-applied.
Not at all. While it’s ideal for decorative lighting, it can also create ambient mood lighting.
Ease off the intensity and increase feathering to create a more natural vignette.
Yes! Luminar Neo’s Face AI can detect and adjust multiple faces simultaneously.
Light adjustments in Luminar Neo are designed to look natural, especially with proper masking.
It’s optimized for performance, but for best results, a system with dedicated graphics is recommended.
Conclusion
Controlling light in Luminar Neo isn’t just about making photos brighter—it’s about telling a better story. With tools like Face AI, Magic Light, and Mask AI, you have everything you need to transform flat photos into captivating, professional-grade images. Best of all, it’s intuitive, fast, and fun.
So next time you’re reviewing your photos, ask yourself: “Where do I want the viewer to look?” Then use these tools to make it happen.